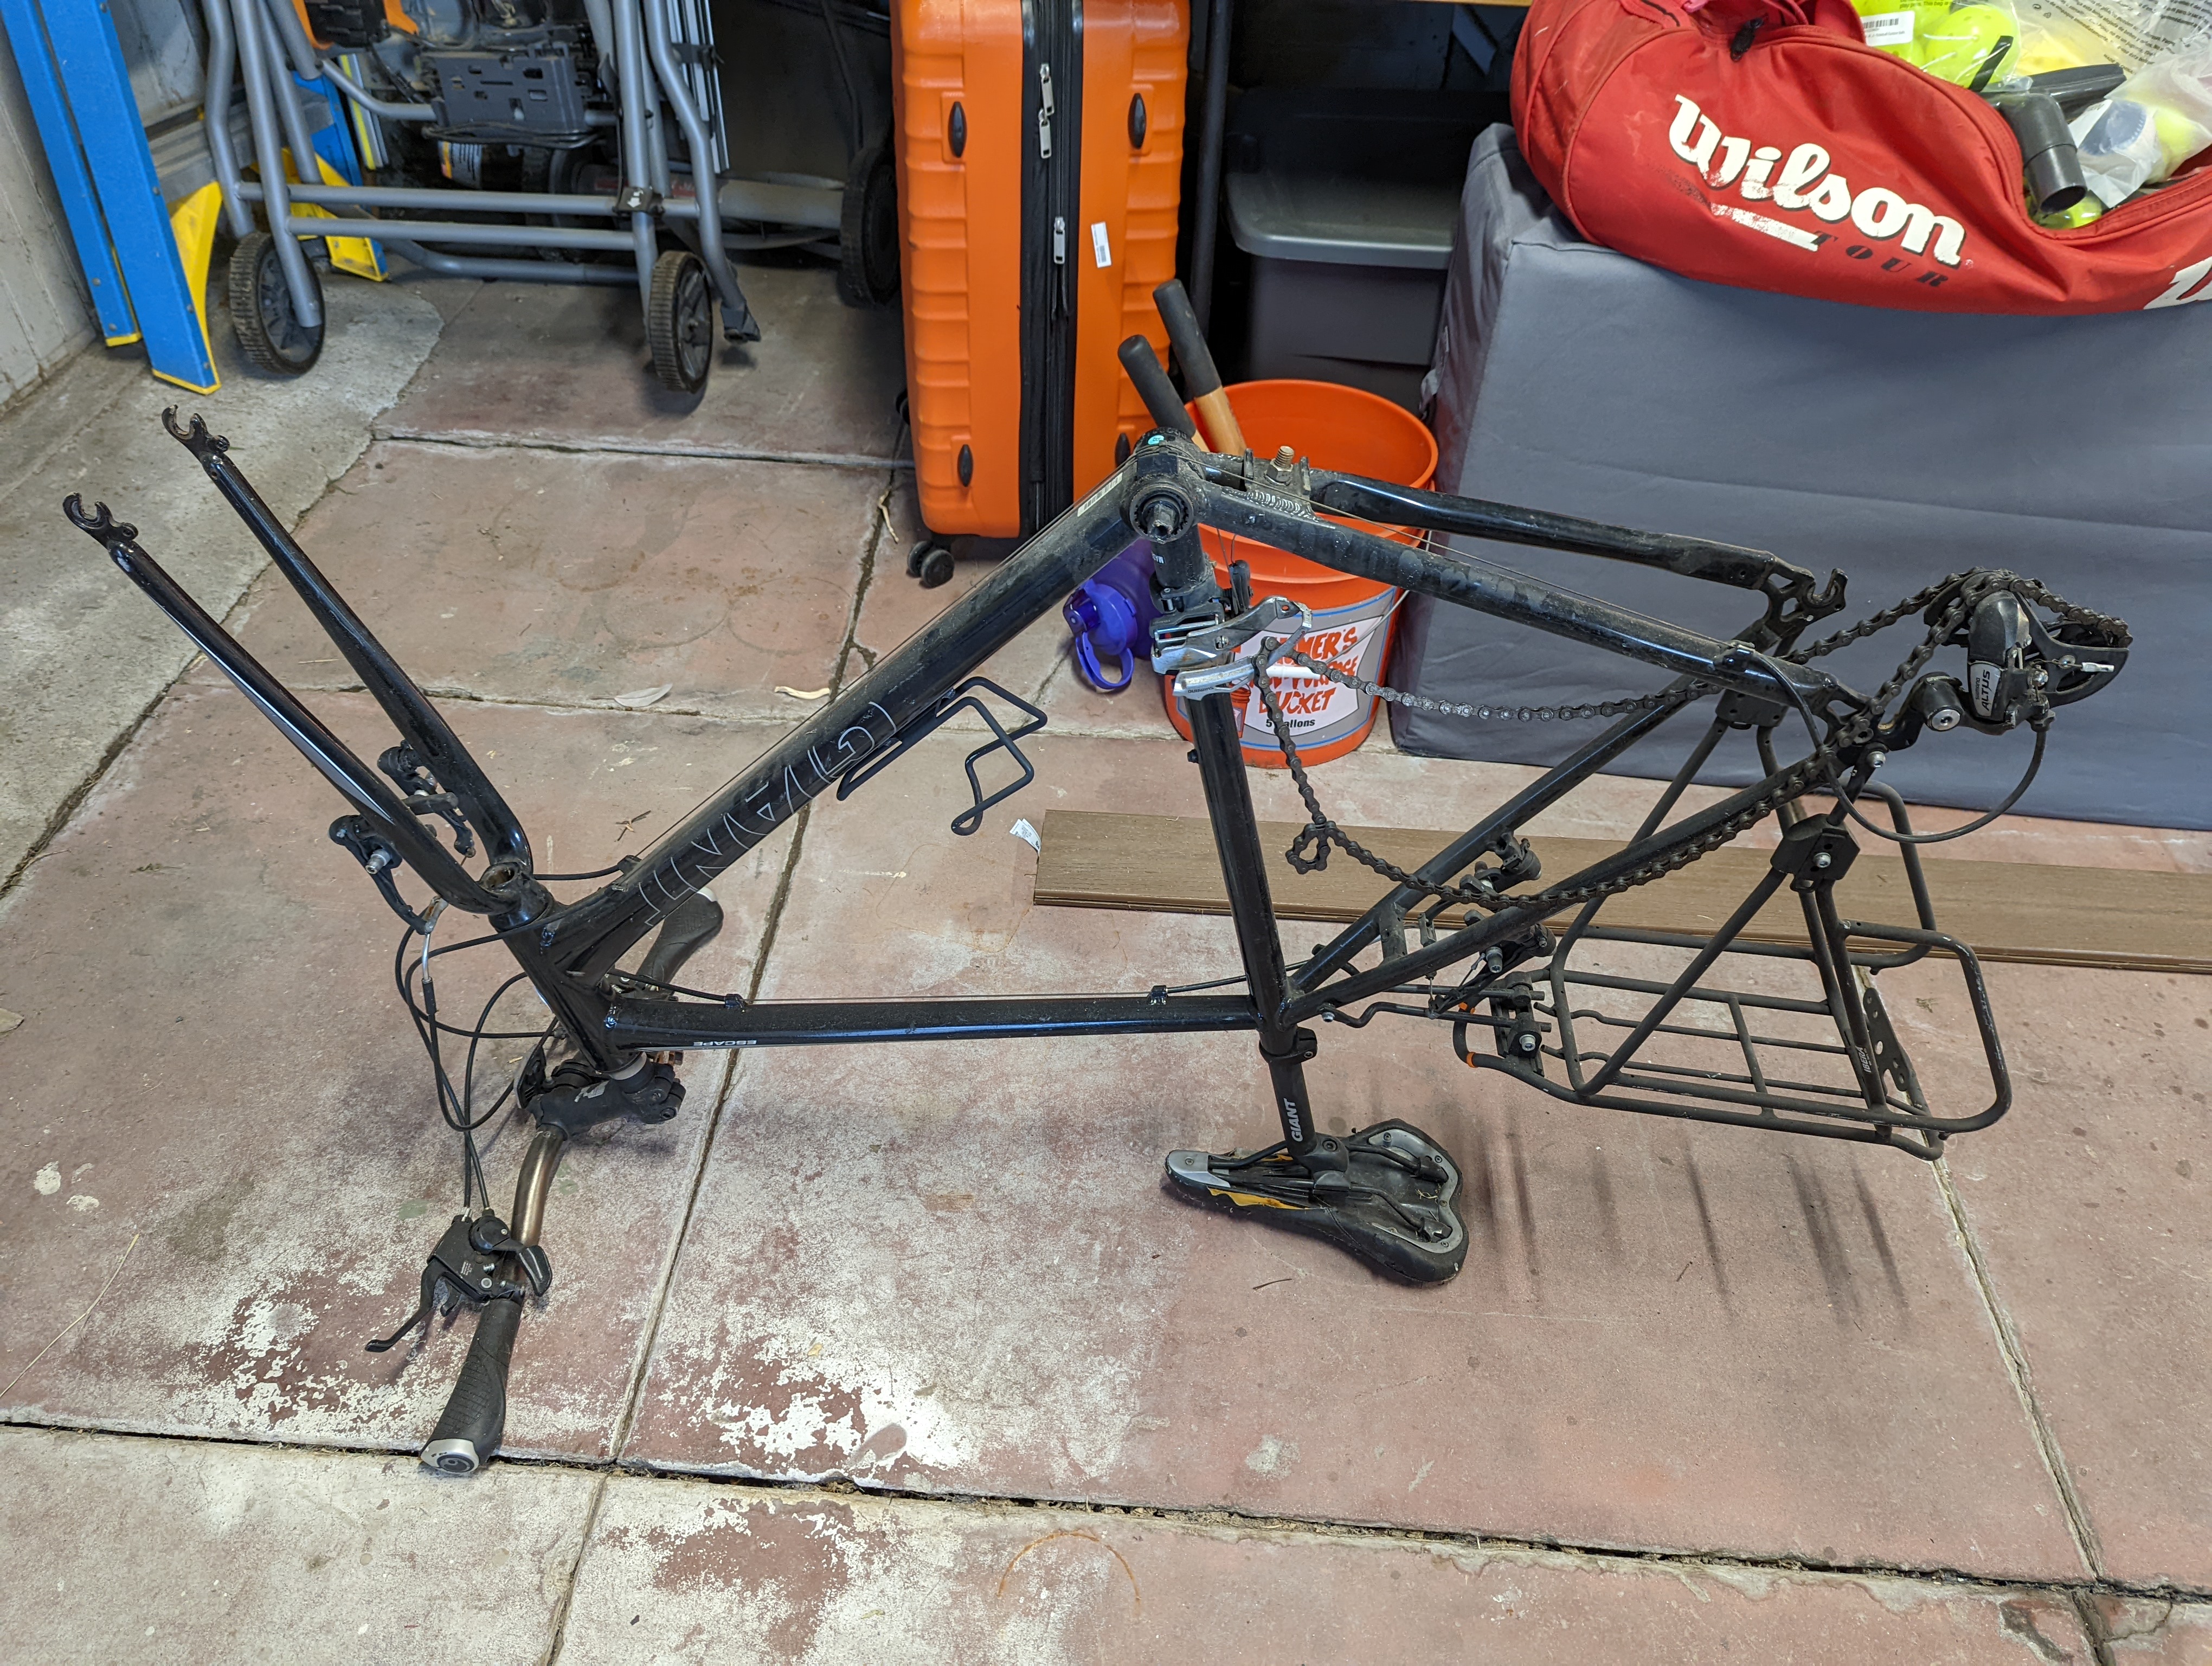
I’ve had a Giant Escape 2 for the past decade and it has been a wonderfully reliable daily driver. After an evening out with friends a few months back, I left it locked in front of our brewery of choice in order to get a more responsible ride home. Lo and behold, both wheels were missing upon my morning arrival to pick it up. I took it as a sign that I was overdue for a new bike and the wheel-less frame has sat in my garage since.
The Plan Unfolds
My friend has been on an eScooter and eBike kick, so we’ve been hearing a lot about them in the office recently. Also, I’ve been particularly lazy about my bike commute, often opting for the bus instead of sweating my way up the hill at the end of the day. I wonder how difficult it would be to slap an electric motor on that old ride…
Note: I am not a bike mechanic, and most of this build was watching youtube videos and a brief consultation with my local bike shop. Basically, if I can do this, you can as well.
Stripping It Down
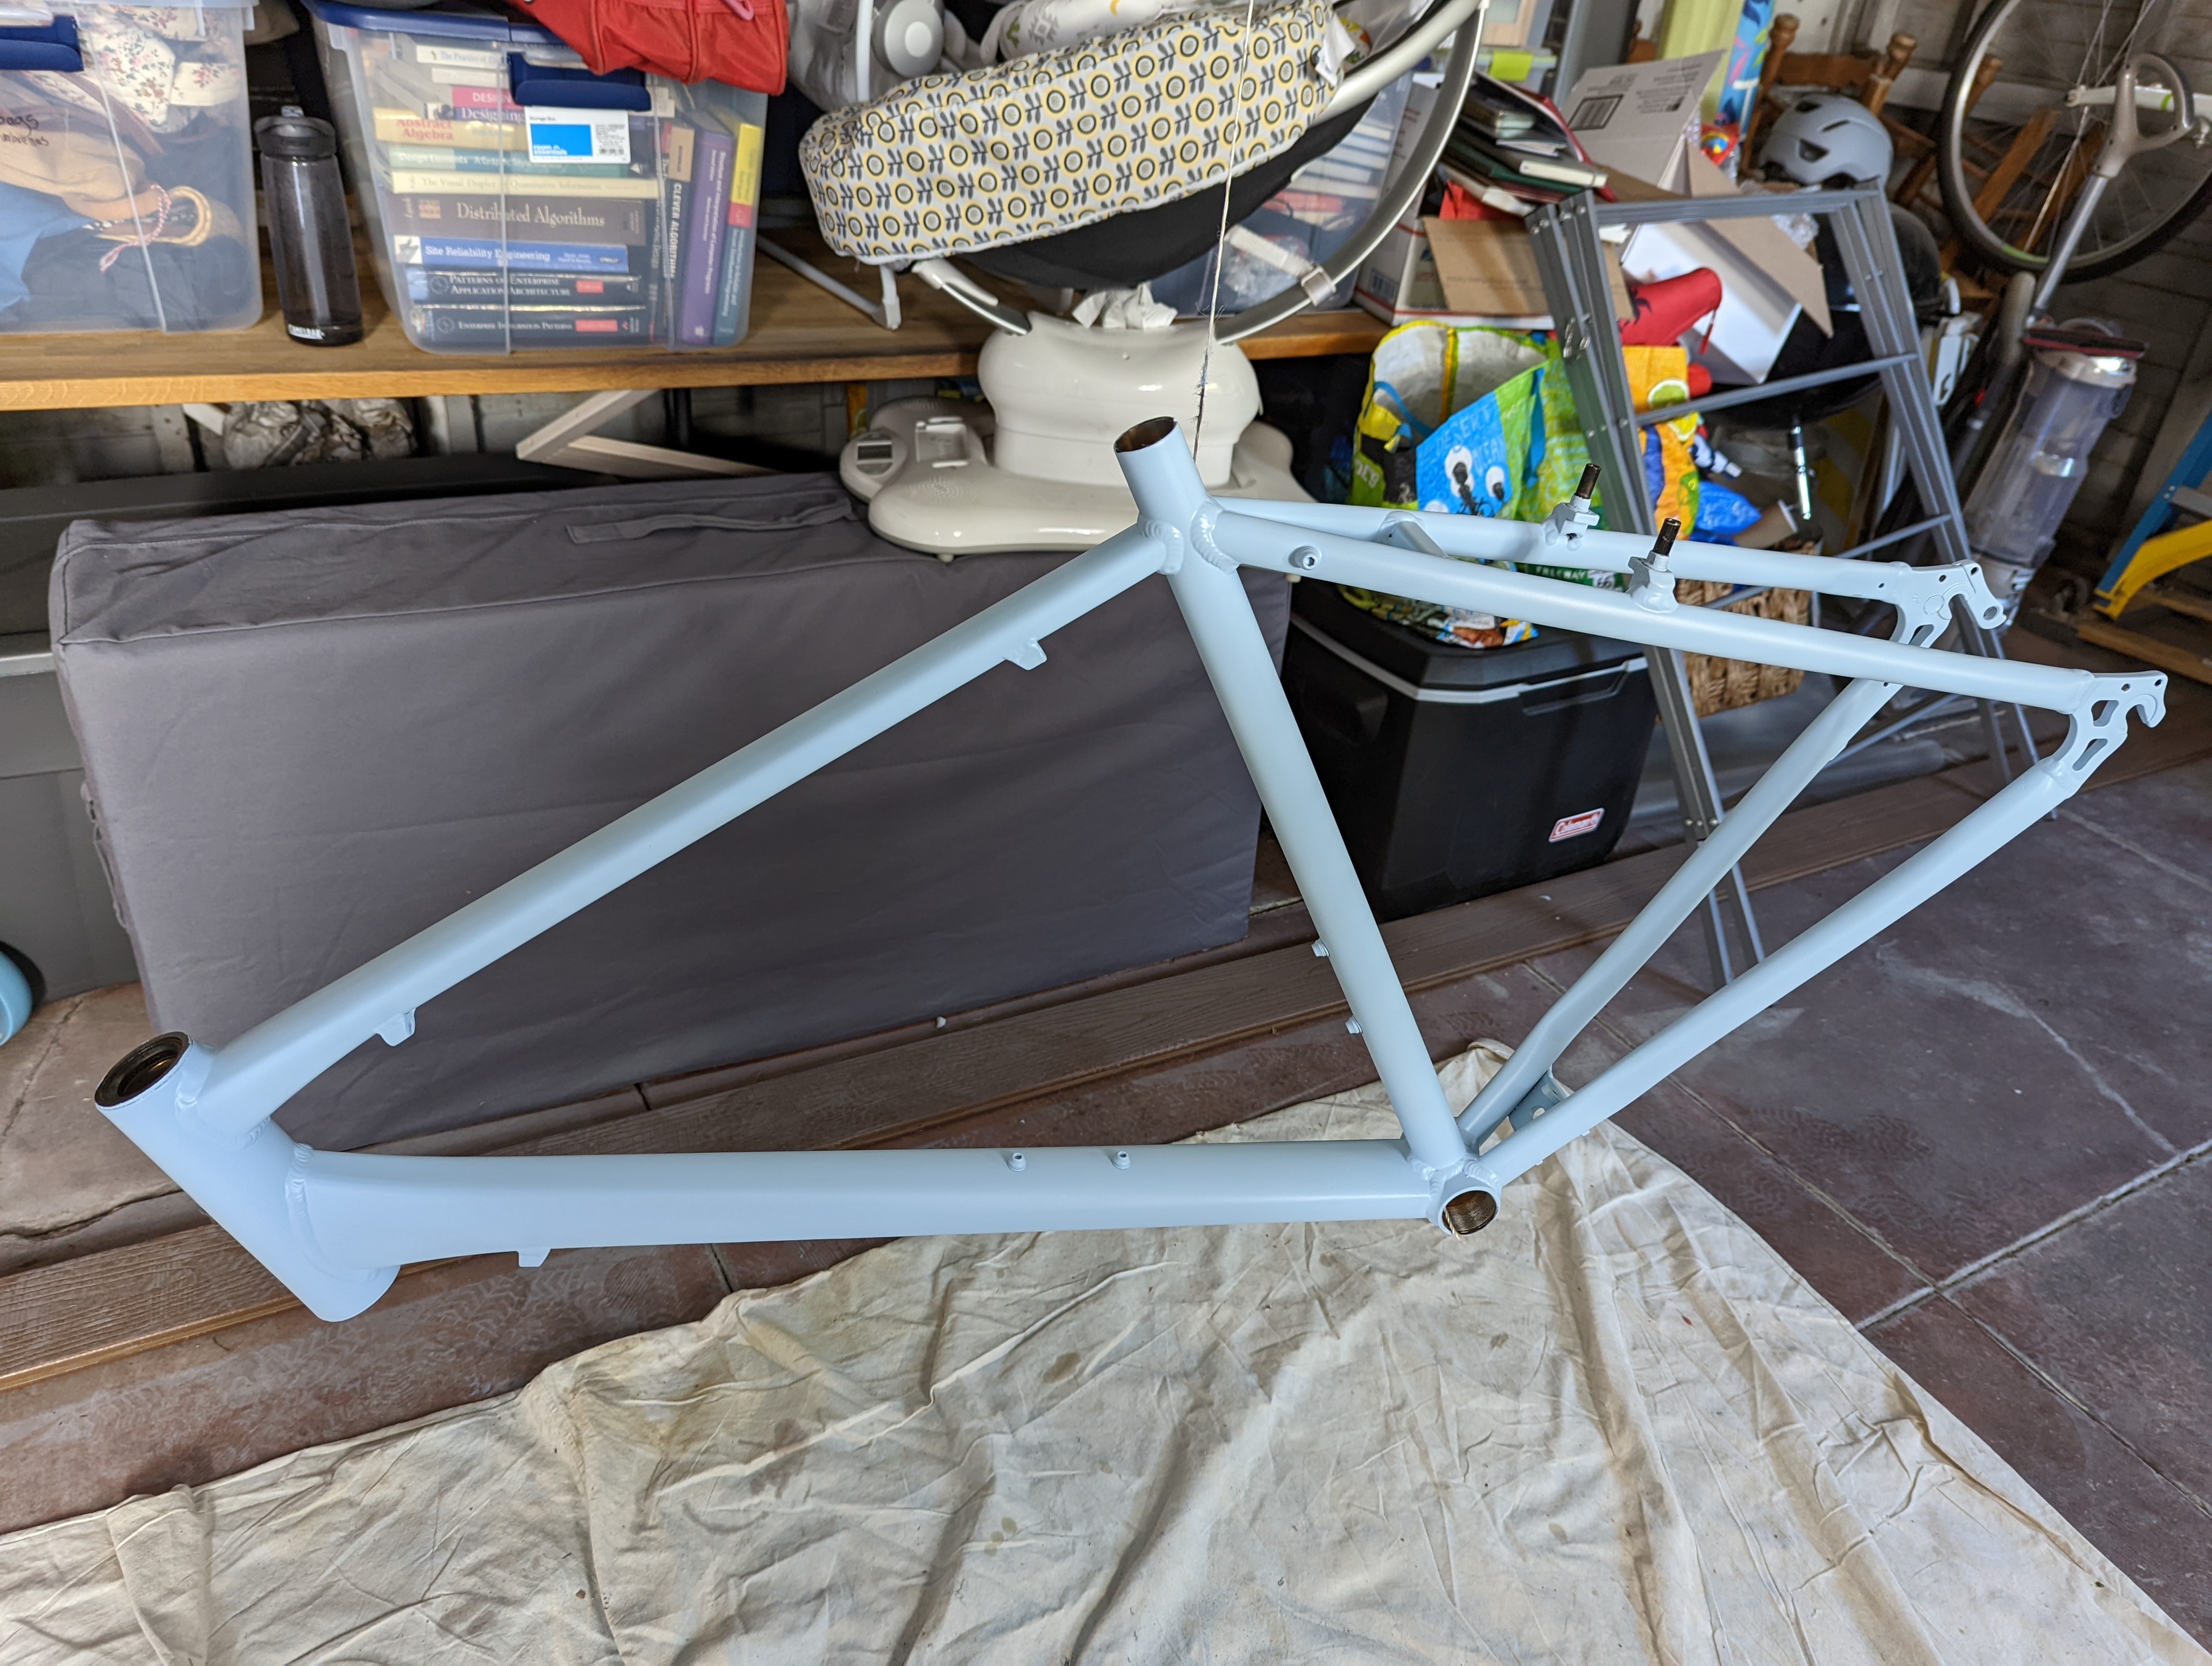
Since I need to replace so many of the parts already, I decide to strip the bike down to the bare frame. And if I have it down to the bare frame, what a wonderful opportunity to give it a fresh coat of paint! A little research lands me on spray.bike, and I grab what I need:
Spray.bike gives great guidance on their website, so I just followed along. Prep was easier than I thought, and after a bit of work and a few days of waiting for it to cure, I had a newly painted frame!
Fixing It Up
In addtion to the wheels, tires, and cassette (which were stolen), I replaced most of the decade-old parts. Here’s the parts list:
- Bontrager Line Comp Flat Pedals - $35
- EVO Tour 20 Front and Rear Wheels - $45 / $65
- Shimano BR-T4000 Front and Rear V-Brake - $15.99 / $19.99
- Shimano Altus Rear Derailleur - $18.95
- Shimano 8-speed RapidFire Plus Shift Lever - $19.95
- microSHIFT H08 8-Speed Cassette - 11-34T - $20.95
- Bontrager AW1 Hard-Case Lite Road Tire 700c x 28mm - $30 x 2
- Co-op Cycles Shrader Tubes - $9.50 x 2
- Shimano Universal Brake Cables - $11.99
Also, there were a number of tools that I picked up (that you may already have):
- Park Tool Crank Wrench and Puller - $15.95
- Bottom Bracket Removal Tool - $9.98
- Pedro’s Bicycle Cable Cutter - $27.47
- Park Tool PPL-1 Bicycle Grease - $8.99
Conversion Kit
There are all sorts of conversion kits on the market. After browsing and debating and browsing some more, I landed on the Bafang BBS02 750W Mid-Drive Motor and Battery Kit. I have a decent amount of hills around me, so having a mid-drive with an 8-speed cassette seemed like a solid plan. Also, you can get cheaper kits than the Bafang, but they are well-regarded and widely used, so I’d rather spend the extra money than go for an Alibaba surprise. I bought the kit on Amazon since it was surprisingly less expensive than buying direct from Bafang. Here’s what I got:
- Bafang BBS02B 48v Mid-Drive Conversion Kit w/ 500c color display, 46T chainring, and 13Ah downtube battery - $635 + $100 shipping
- Bafang Gear Shift Sensor - $26.99
The kit really comes with absolutely everything you need: motor, crank arms, chainring, brake levers with sensors, battery with mount and charger, throttle, speedometer sensor, and display. It even came with a crank puller, which I didn’t realize, and I had already purchased one separately. Everything shipped promptly and arrived in great condition, so it was time to build!
The Build
Overall, everything was fairly smooth with the build. I watched a lot of youtube videos, and there were only a few hiccups:
- I forgot to install my gear sensor before setting up and tuning my rear derailleur. This cost me a run to the bike shop for an extra gear shift cable and a do-over on the rear derailleur and shifter tuning.
- My frame has cable guides under the bottom bracket, and I had to hacksaw part of it off in order to fit the motor correctly. No biggie.
- The downtube mounting holes are situated closer to my seat tube than the conversion kit expects, so I had to mount the battery upside-down. This is a temporary solution and I’ll probably pick up this Bottle Bob to mount it properly (without having to drill into my frame).
- Cable management: I’m currently just using zip ties for everything, but it’ll look a lot better if I used some proper cable sleeving. Someday.
Overall
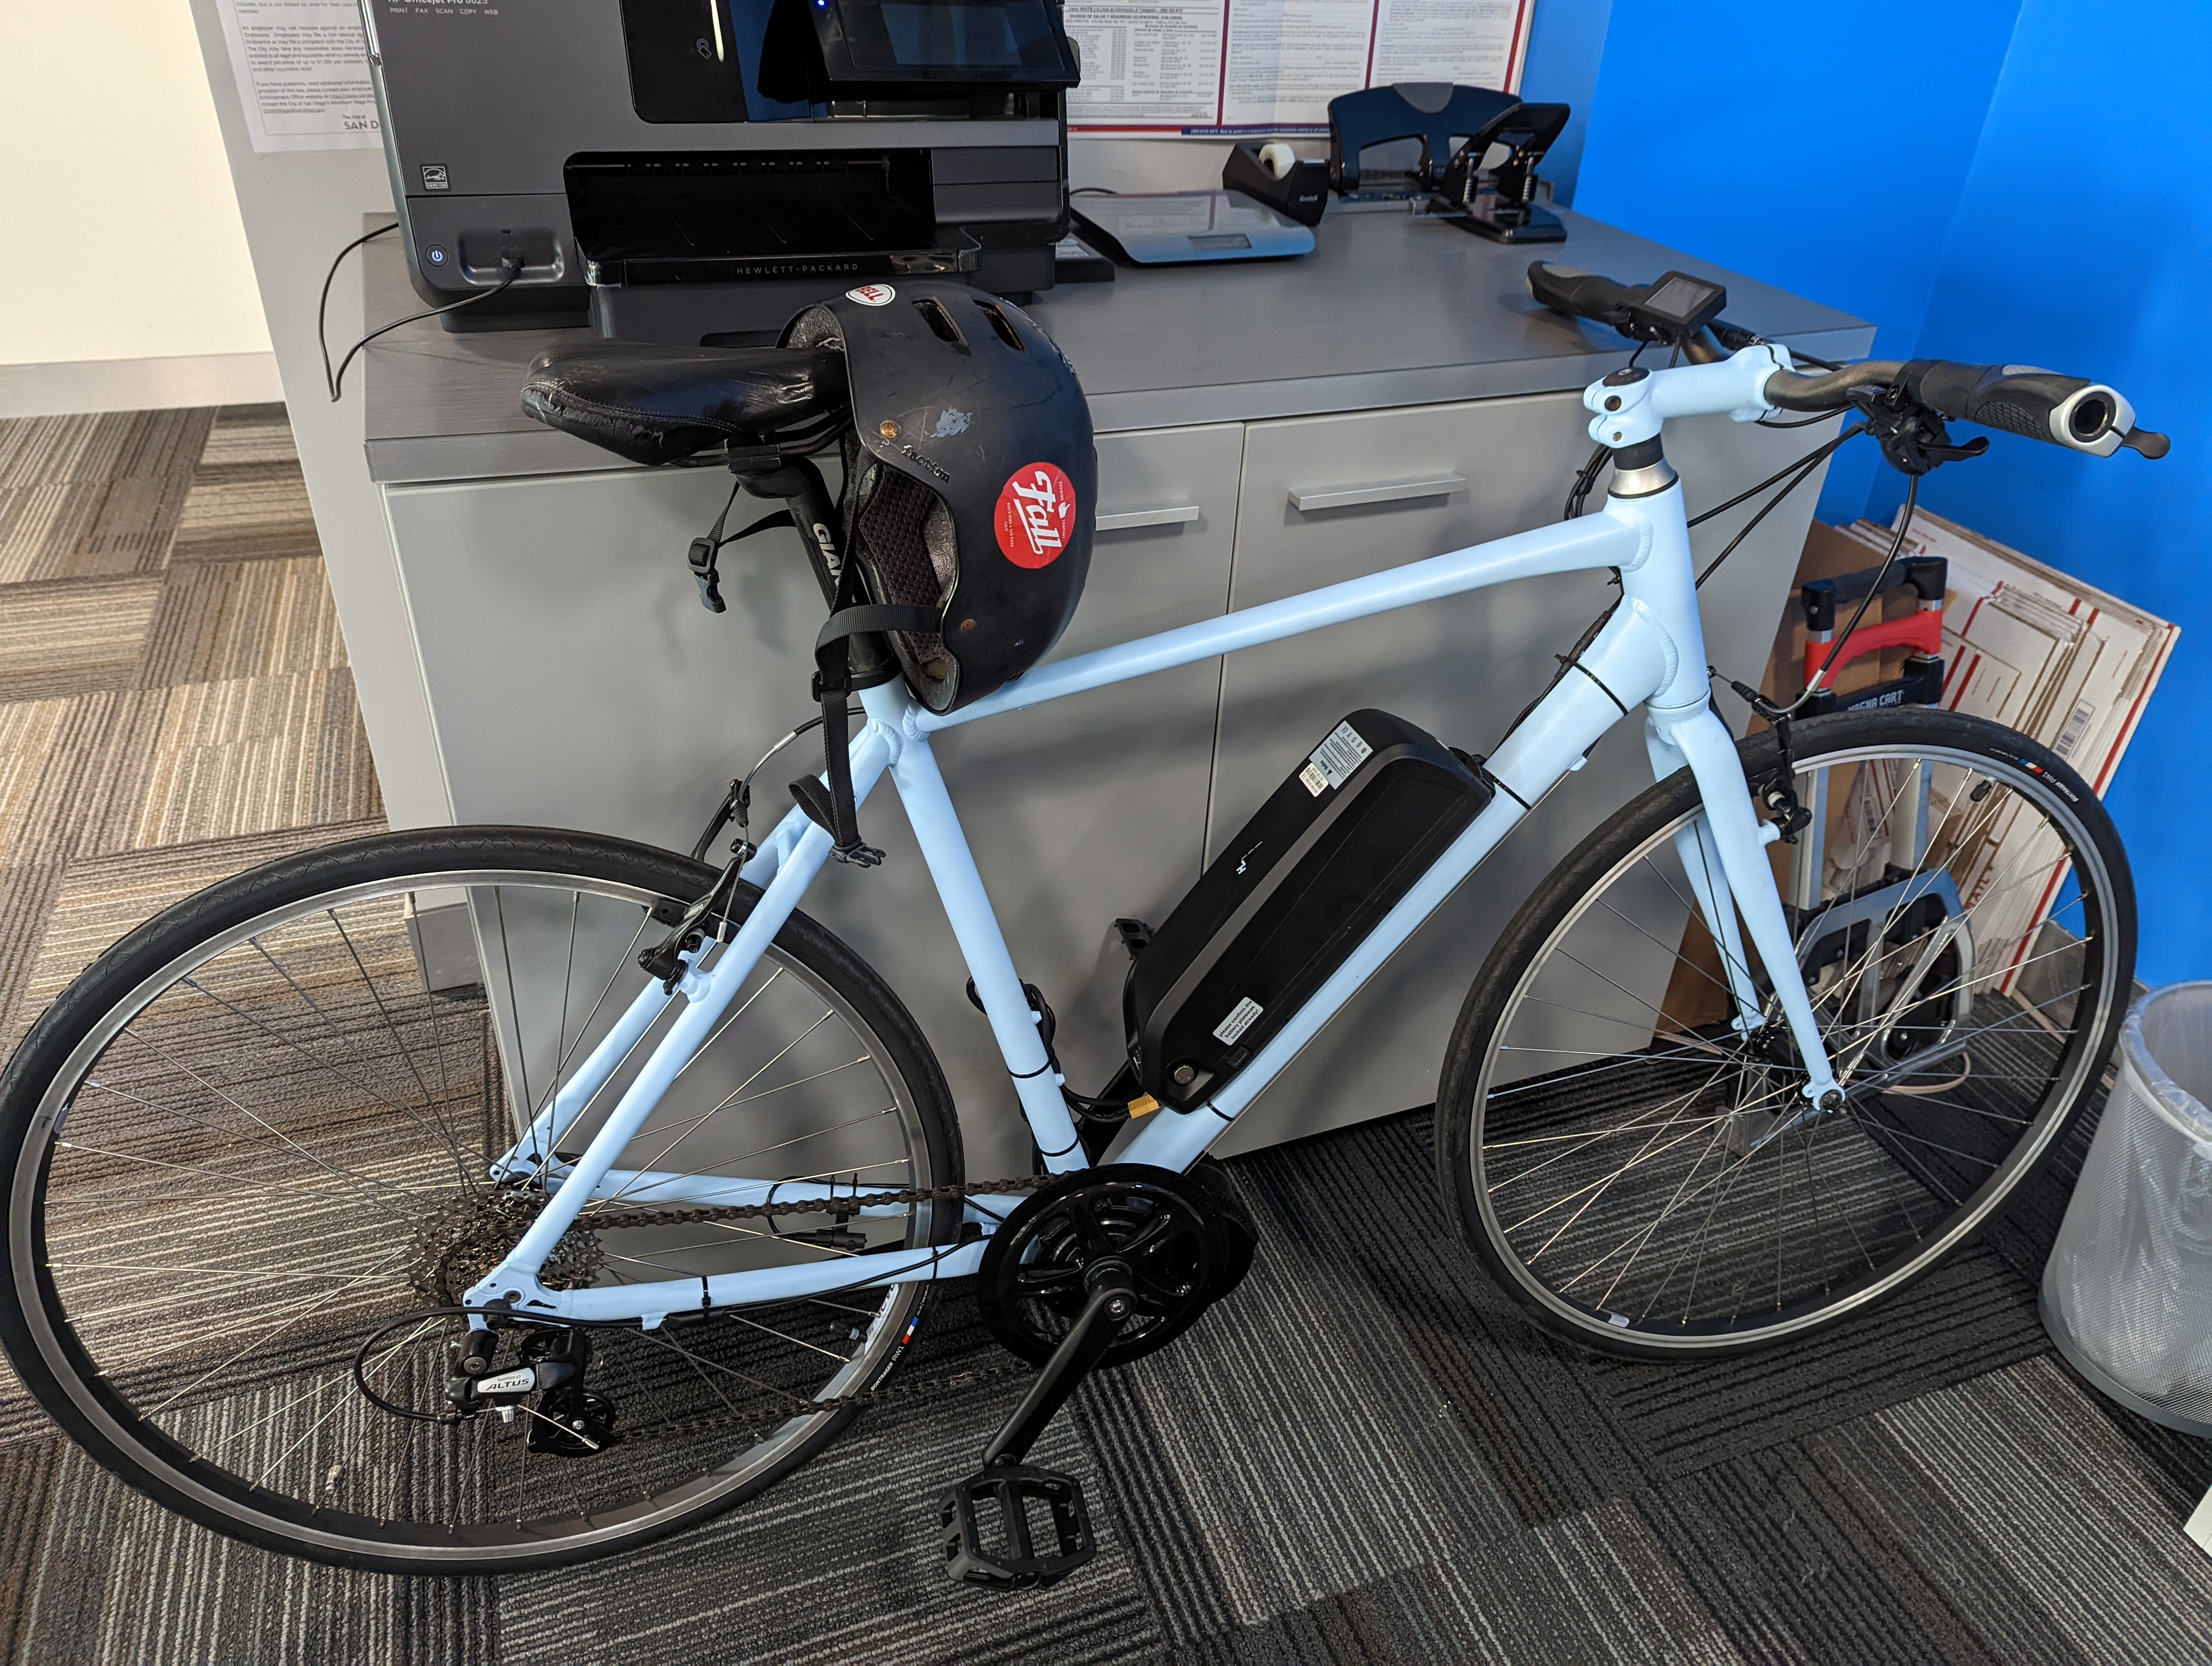
After completing the build, it was time to give it a test run. It currently tops out around 28mph on throttle-only (no pedaling). The gear shift and brake sensors are outstanding for cutting the motor while breaking or shifting, so I’d highly recommend purchasing the additional gear sensor if you’re not single speed. Lastly, I did my typical round-trip commute to the office which is 4 miles each way, but with a hefty hill climb on the way home. My typical ride home was about 30m before, but was only 15m with the new kit, and the battery had well over 60% still remaining. Overall, I’m in awe of how easy and fun the conversion was, and commutes are back to being giddy adventures instead of just a practical necessity!
Total Costs
- Bike restoration: $365.80
- Conversion kit: $761.99
- Tools: $62.39
- Total: $1190.18